Looking to improve your archery technique? Incorporating a few specific skill-building drills into your practice time can seriously boost your accuracy and confidence. In addition to drills, setting some goals for yourself will help you direct your practice time. Even if you only shoot for a few minutes a day, if you use that time with intention and purpose you will be amazed at how quickly you improve. I make it a habit to have a goal in mind at every practice session, and most of the drills I perform relate specifically to those goals. Here’s what I mean.
Goal: I want to shoot more center shots.
Drill: Build a shot plan by focusing on one thing at a time, like back-tension release or sight picture, until it becomes second nature.

This is a universal truth in the shooting sports: Spend time building a shot plan, and once it is second nature you will be able to quickly improve your shot placement.
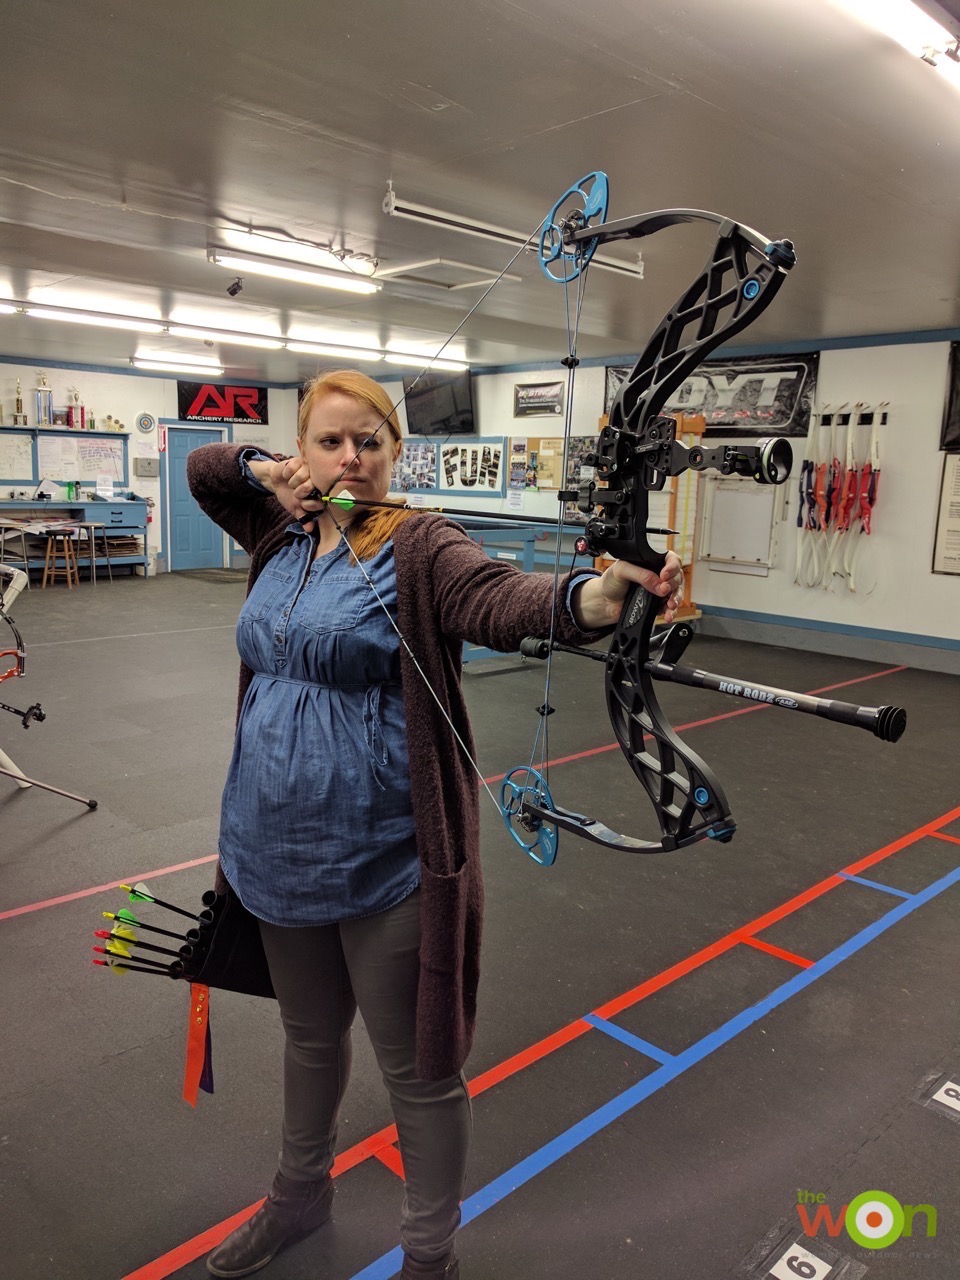
What is a shot plan? It is a list of steps to run through each time you shoot, whether you are actively thinking about it or not. For example, this is my shot plan for my compound bow, which I adapted from the basic structure of my shot plan for precision air rifle:
- Step up to the firing line. Are my feet where I want them? If not, adjust.
- Take a deep breath and relax tension in my shoulders and back.
- Look at the target, then nock an arrow.
- Take a deep breath and position my release properly in my right hand (I use a thumb release, but this works for a wrist release, too) while preparing to connect it to the d-loop.
- Connect my release to the d-loop, orient the bow to be drawn, and look at the target.
- Take a deep breath while drawing back smoothly.
- Release the breath while holding back and locating my anchor point (for me, this means positioning the space between my index and middle finger knuckles on the back of my jaw). Continue increasing back tension between my shoulder blades, a little at a time.
- Take another breath and slowly let it out while looking at the target, then focus entirely on the front sight.
- Make a small hold tweak if the sights are not level, and focus on that front sight pin while continuing to apply back tension. (At this point, I do not breathe in.)
- Release and follow through. You should release the shot almost as a surprise, because of the continuously increasing back tension over the last few steps. “Follow through” means that you shouldn’t force the bow to do anything after the arrow leaves it, and don’t crane your neck to see the shot.
If I feel like it (or can see it) I will look at where my shot went after following through with the shot. Moving too early to look for an arrow can affect shot placement. Often in training I do not look at where each arrow landed, because I want to focus on the process, not the result. I will be able to see how I did when I collect my arrows. If I don’t look at where the arrow landed, then my next step after “step 10” is to return to the beginning: looking at my feet and adjusting if necessary.
It took me a while to build my shot plan up to the point it is now. I spent months working on this and I still tweak it if I find a better way to do any aspect of it. I use a similar plan for my air rifle and small-bore rifle shooting, and while it took me some time to establish it, I spend a lot less time actively thinking about how to shoot a well-placed shot because of it. My brain power is free to work on other things I want to improve, like my sight alignment or back tension.
Start your shot plan by pretending to shoot. Just close your eyes and think…